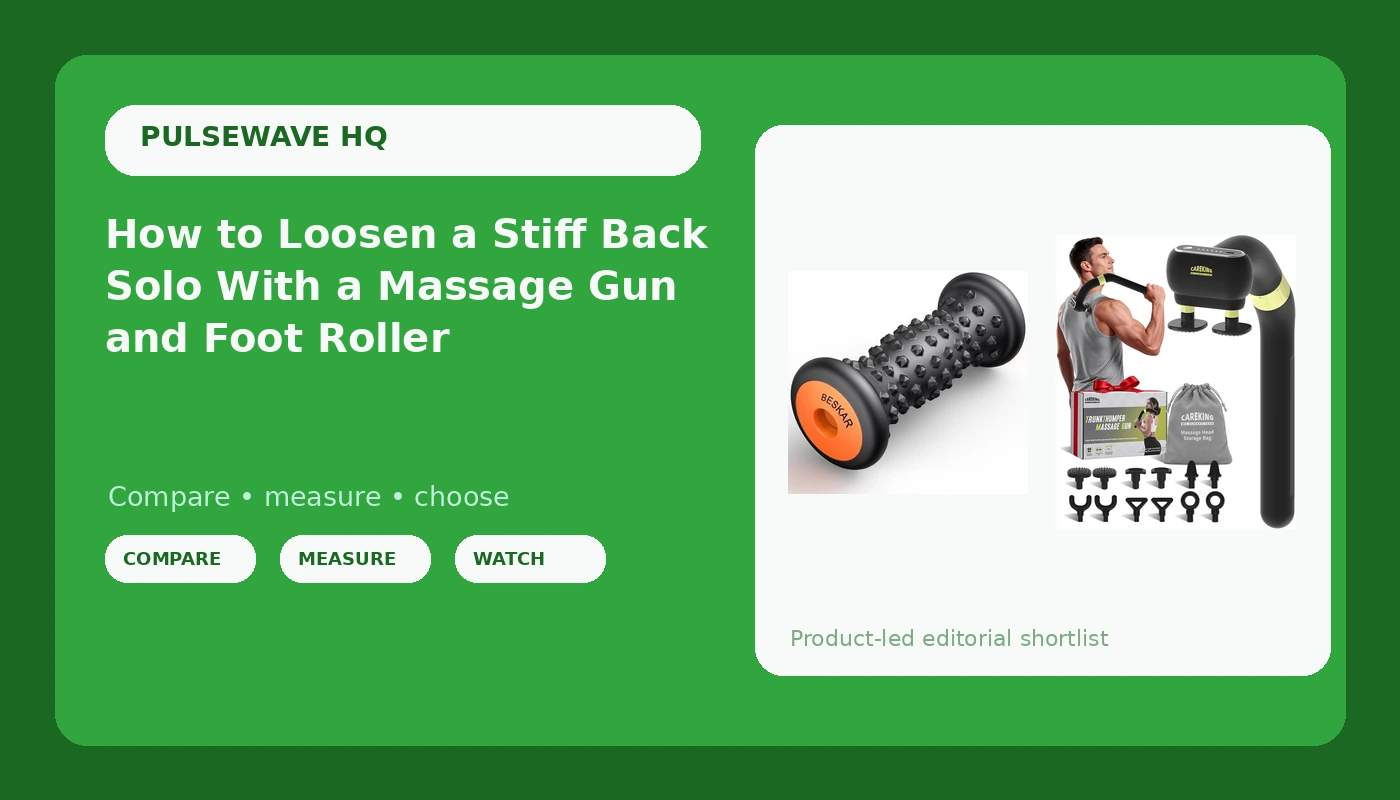
Thirty miles of Colorado singletrack does not wreck my back on Saturday. Sunday does. By the time I am off the bike and eating something, my lats and mid-back have tightened into a sheet of plywood and my arches are sore from four hours of standing on pedals.
I have been a physical therapy assistant for eight years, and I have owned more than 20 massage guns. Here is what nobody tells you about a massage gun for back recovery: the gun is almost never the limiting factor. Reaching your own back is. Your arms are not long enough to lay the head flat on your mid-back at a useful angle, so most people end up mashing the head into a shoulder blade and calling that a session.
The fix is not a bigger gun. It is the right two tools and a sequence you can run alone in a garage in about 15 minutes. That is what follows: the same routine I walk patients through when they ask how to work on themselves between visits.
Why you should trust me
I have been a physical therapy assistant at a sports rehab clinic in Denver for eight years, working with everyone from pro cyclists to weekend warriors coming back from crashes and overuse injuries. I started using massage guns in the clinic under the head PT's direction, and on myself after long rides. That turned into a testing habit: more than 20 guns owned, a spreadsheet entry for every one, with stall force, stroke length, noise at each speed, battery life under real use, and which ones died inside a year.
I have watched a cheap gun stall out on a patient's hamstring mid-session, and I have watched a very expensive gun rattle a rider's hand numb at max speed. I trust measurements over marketing.
Two rules I do not bend. No gun gets recommended without a measured stall force and amplitude, and no recommendation without the noise level at the speeds people actually use. Stall force and stroke length are the specs that matter. RPM is marketing printed in big numbers on a box. A gun that stalls the second you lean into a tight quad is a buzzer with a handle, and a gun that is too loud to turn on is a paperweight no matter what it cost.
How I picked and how I tested
This is not a list of the most impressive gear I own. It is the short list of what I actually reach for when I have to work on myself, alone, with no second pair of hands.
The gun below has an extension handle, which is the entire reason it made the cut. The roller handles the job a gun is genuinely bad at: slow, sustained, rolling pressure along the arch and calf, which is what my feet want after a trail day.
I put both through a full Colorado riding season, alongside a batch of nine other units, across 400+ miles of trail, with a logbook tracking stall force, stroke length, noise, and battery over three months of real use. For the roller, I cared about surface texture, whether it slides around on a hard floor, and whether the arch pressure is even or whether it digs in on one edge and skips the rest of the foot.
One thing I will not do is dress these up as medical devices. They are recovery and warmup tools. They help your body recover so it can do the fixing. Nothing here diagnoses anything or treats anything.
The two tools this routine runs on
Two items, on purpose. A back tool you can aim and a foot tool that rolls.
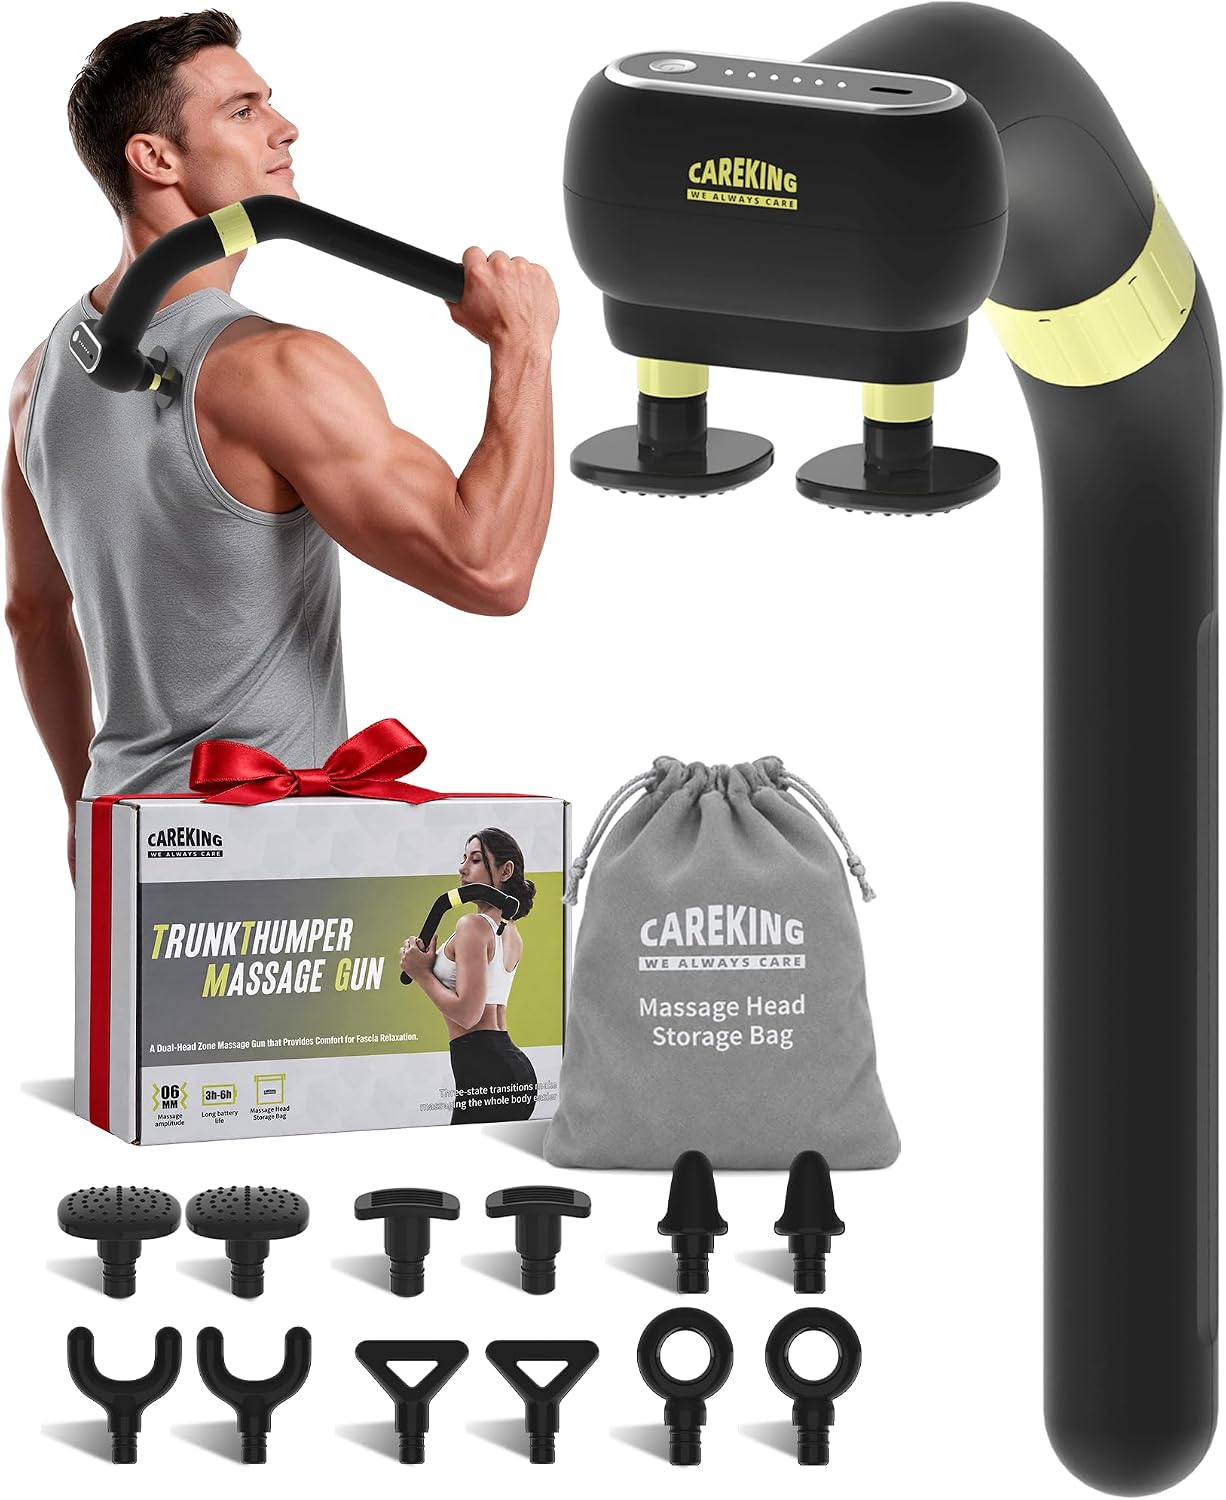
Best for solo back work: 3-in-1 Muscle Massage Gun with Extension Handle, Dual Head Back Massager
 Visit on Amazon →
The extension handle is the feature that earns this gun a place here. Without one, you are doing the shoulder-blade mash, which is where most solo sessions go wrong. With it, you can reach your mid-back and the top of your lats at an angle that keeps the head flat against the muscle instead of digging in with one edge.
The dual head setup covers both jobs: the broader head for big muscle bellies like the lats and glutes, the smaller one for getting around the shoulder blade. The 3-in-1 design also means it is the gun I would hand to someone who wants a single tool for back, legs, and shoulders rather than a shelf full of them.
If I were coaching you in person, this is what I would say: start on the lowest speed, keep the head moving, and stay on muscle bellies. Bone, joints, and the spine are off limits. That is not a disclaimer, that is anatomy.
Flaws but not dealbreakers: The handle makes the gun long, which is perfect for your back and clumsy for your calves. You will end up holding the body directly for lower legs. The leverage is also a trap, because it lets you press harder than you realize, so check your pressure by asking whether the stroke is still cycling.
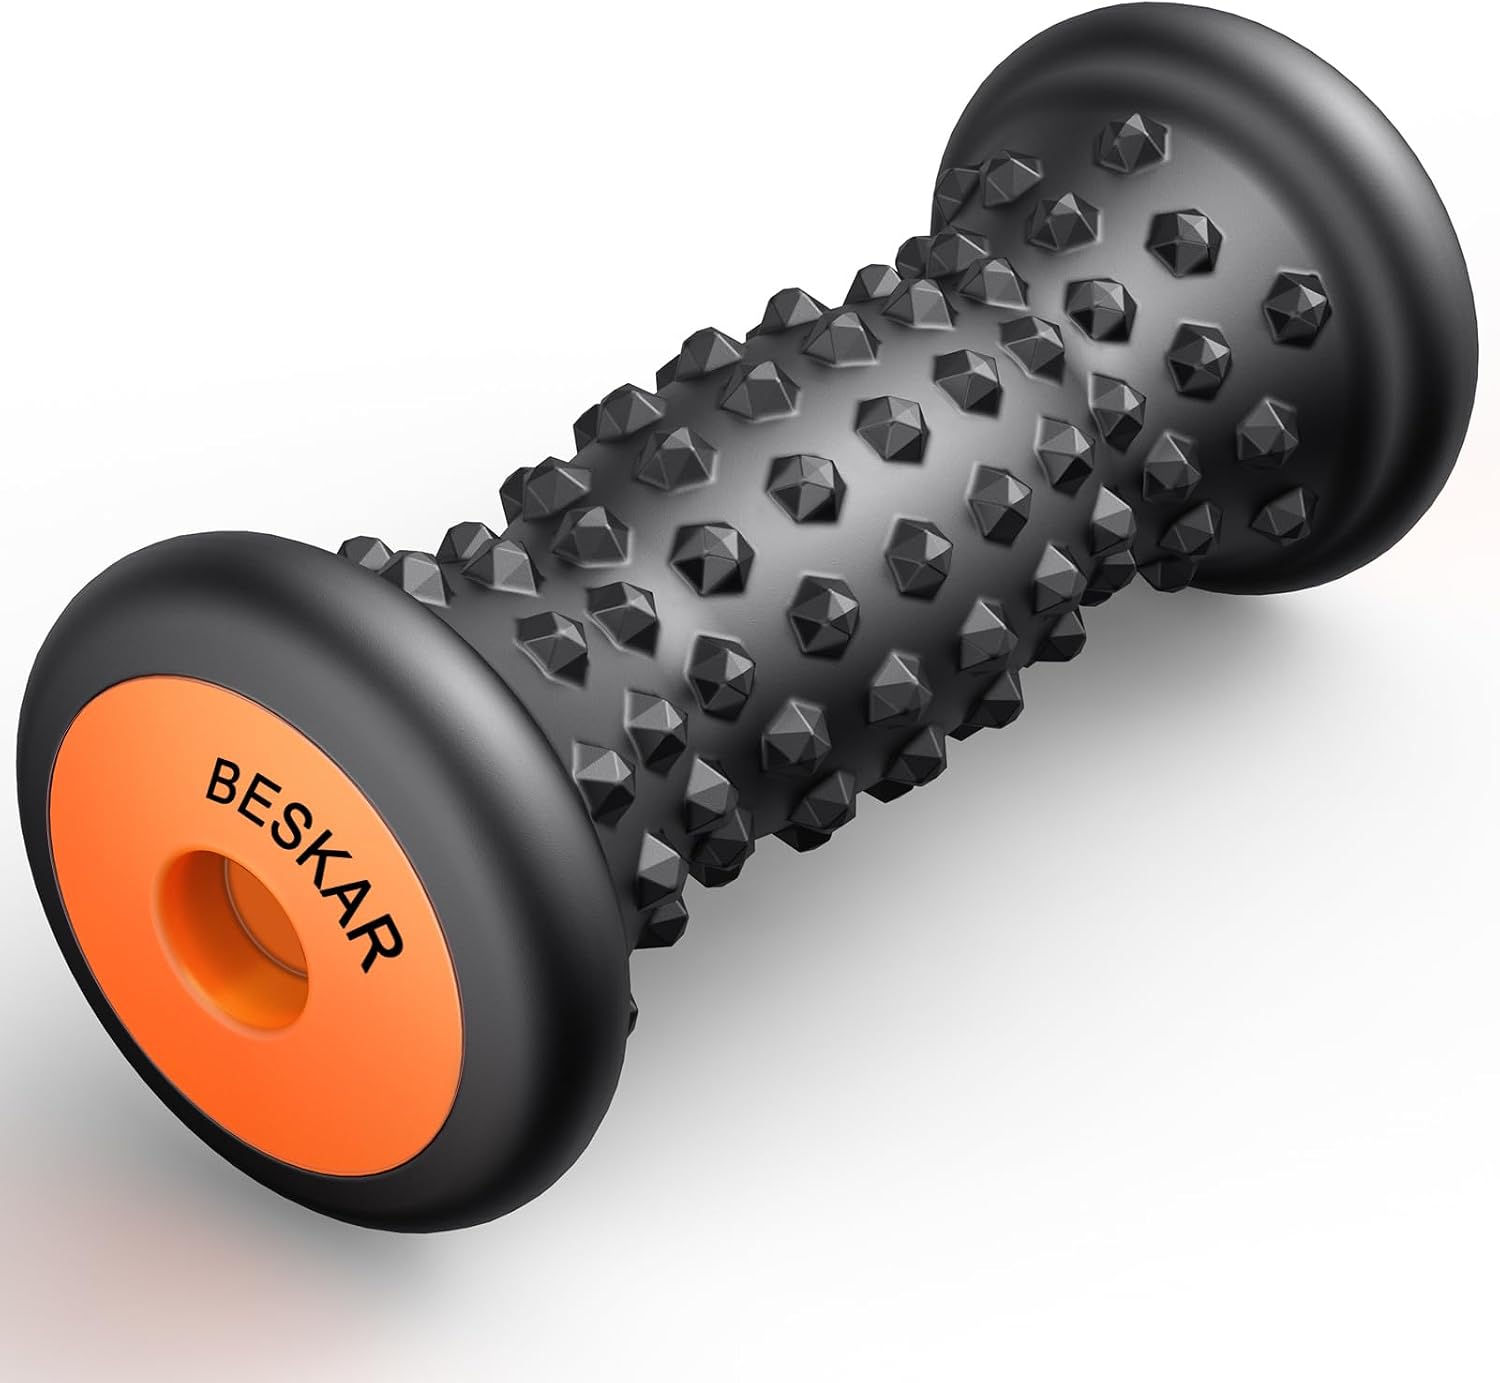
Best for post-ride feet: BESKAR Foot Massager Roller for Plantar Fasciitis Relief
 Visit on Amazon →
A massage gun is the wrong tool for the bottom of a foot. The plantar surface wants slow rolling pressure, not a rapid tapping head, and the roller gives you exactly that with your own body weight as the pressure setting. The name references plantar fasciitis relief, and what I will say is narrower than that: this is a rolling tool for the arch, heel, and calf, and it is not a treatment for a diagnosed condition. If you have heel pain that has lasted more than a couple of weeks, or that wakes you up, that is a conversation with a clinician, not a purchase.
I keep mine next to the couch and use it while I am watching something, which is the only reason it gets used on days I am not motivated. It stays put on a hard floor, and the rolling surface gives you even pressure across the arch rather than one hot spot.
Flaws but not dealbreakers: It is a roller, so it is powered by you. If you want a motor and vibration, this is not that product. Rolling tools reward patience, and impatient rolling is just stomping on a tube.
The routine, step by step
Now the part you came for. Fifteen minutes, two tools, done before your coffee goes cold.
Step one: Move before you roll. Do not put a gun on cold tissue. Five minutes of walking, a few bodyweight squats, or an easy spin around the block. You are raising tissue temperature and getting blood moving, and both tools work better on warm muscle.
Step two: Set the gun before it touches you. Lowest speed first. Broad head for big muscles, smaller head for the area around the shoulder blade. Keep the head moving at roughly an inch per second. If the stroke stalls out, you are pressing too hard, so back off until it cycles again.
Step three: Work what you can reach honestly. Start with the areas your own arms can handle: the tops of the shoulders, the muscle beside the shoulder blade, and the lats along the side of your ribs. Sixty to ninety seconds per area is plenty. Muscle bellies only, and if you land on a bone, move off it immediately.
Step four: Attach the handle for the mid-back. This is the step people skip, and it is the whole point of the routine. Reach over your shoulder or under your arm with the extension handle and let the handle lay the head flat on the muscle. Because the handle gives you leverage, keep your pressure light and keep the head traveling. The spine is not a target, and neither is the shoulder blade itself.
Step five: Do the glutes before you quit. A lot of post-ride back tightness starts lower than people think. Sixty seconds per side on the glutes with the gun, and you will usually feel the low back settle on its own.
Step six: Switch to the roller for the feet. Stand or sit, put your arch on the roller, and roll slowly from the ball of the foot to the heel. Thirty to sixty seconds per foot, then roll the calf for another minute. A lot of foot tension lives in the calf, so do not skip it.
Step seven: Cool down, do not stretch into pain. Walk it out, drink water, and get on with your day. If an area feels bruised the next morning, you either went too hard or stayed too long, so cut the time in half next session.
That is the whole thing. Warm up, gun the muscles you can reach, use the handle for the middle of your back, roll the feet, walk away.
What this routine will not do
It will not fix an injury. It will not treat a disc, a nerve, a tear, or a stress fracture, and it is not a substitute for strength work or for a diagnosis. It is a recovery and warmup routine, which means it helps you feel better and move better, and that is where its job ends.
Stop if you hit sharp pain, numbness, or tingling, or if a spot hurts more an hour later than it did before. Keep the gun off bone, joints, the spine, the front of the neck, and any area that is bruised or swollen.
If pain has lasted more than a week or two, or it is changing how you walk or sleep, book time with a clinician. A tool that feels good for ten minutes is not a reason to wait.
What I tried instead, and why it lost
Full-size flagship guns. I have tested plenty, and the strongest one I have used will hold its stroke under real pressure, which is exactly what you want on big quads. It is also overkill for this job, because a full-size gun does not solve the reach problem. You still cannot get it flat on your mid-back by yourself, so you end up with a heavier tool and the same bad angle.
Budget guns with no handle. Fine for quads and calves. Their stall force tends to collapse the moment you lean in, and on a back that is already tight, a stalled head is just grinding.
A gun on the feet. Wrong tool for the plantar surface. It taps fast, when what the arch wants is slow, heavy rolling.
A foam roller or a lacrosse ball. Both work, and I still use a ball on my glutes. Neither is easy to control on the mid-back, and a ball under the arch is very easy to overdo.
What won was the combination: the extension handle for the back and the roller for the feet. That pairing is why this routine is 15 minutes instead of 45, and why I actually do it on a Tuesday instead of thinking about it.
What it costs and how long it takes
Both tools sit in the budget tier, and I am not going to quote you a number that changes next week. Check current Amazon price on each listing before you buy, and compare that to what an hour of hands-on work costs in your city.
The math that matters is time. Fifteen minutes, three or four times a week, adds up to roughly 200 sessions a year out of two small tools that live in a corner. Even at the top of the budget tier, that is one of the cheapest per-session recovery habits you can build, and it is the one you can do without leaving the house or asking anyone for help.
Buy the two tools, run the seven steps once, and see how your back feels on the Monday after a long ride. Then run it again. Recovery is a skill, not a product, and the tools just make the skill easier to practice.
That is the job. Your back and your arches were built to be worked on. Go do it.